A carrousel! Yes, a carrousel.... Like life itself is a carrousel, don't you think?
I mean... if you are "in" the carrousel, you are "traveling" around seeing things... You see people waiving their hands and shouting your name... smiling, waiting for you to pass again... You go in circles and even though you go through same places, you notice different things and enjoy them differently... And if you are watching the carrousel from outside... you see the colors, you wish you'd be there, you notice different details in every ride and every time the animals, shapes or people go again and again... I think it seems like "life"...
But anyway... I made a carrousel... yes, a carrousel as a cake topper for a baby shower. And it was quite a project that I really enjoyed doing, but I made it up... well, as the scrapbookers love to do... make things up... create ... come up with something out of nothing .... don't you love it too? hehehehe
I started cutting circles...
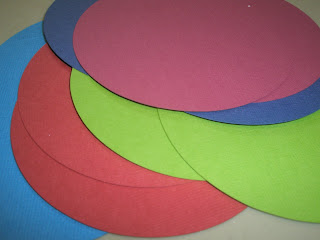
Bent the circles several times...
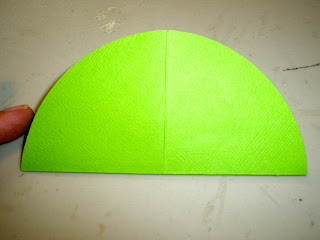
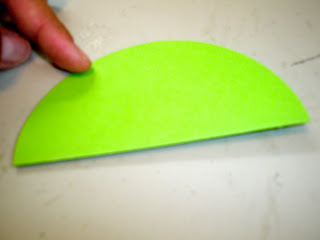
Bend, open it up, turn 90 degrees and bend again... then 45 degrees, then 90 again... so you bend 4 times and end up with this:
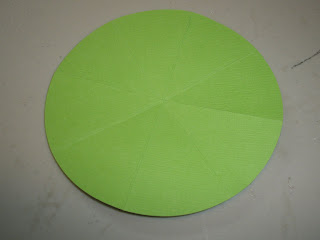
A circle with 8 slices marked/scored... I did the same with several colors so I can cut some of them from each color to use for my canopy or carrousel top... you'll see.
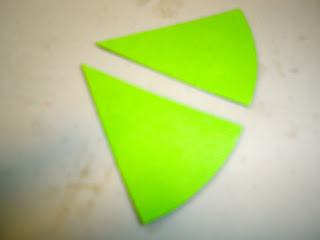
I scored the very end of the triangle (the end with the curve, from corner to corner), so I can use it as the little flap where I glued a half circle.
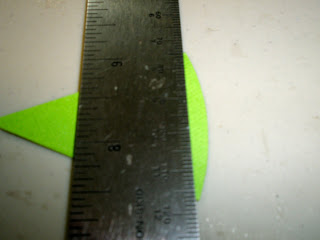
It should look like this:
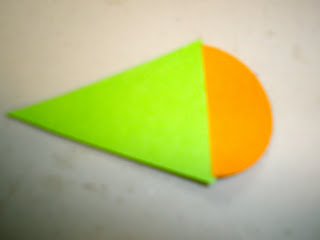
And I made some of them in different colors...
Then I chose another circle and bent the same way as before, but this time I just cut one of the lines scored, until the center of the circle.
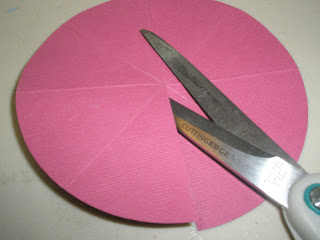
Then I glued the two "triangle" I just separated with the cut... and came up with this:
I glued the already assembled pieces in each of the triangles...
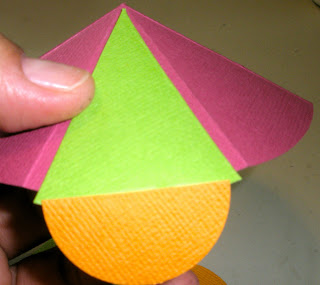
Make sure you glued in a way the folded line is positioned down enough so it can be bent and the semi circle or half circle can hang from the roof...
Here's a view from the back/interior....
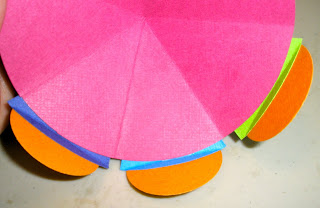
I also added strips to create a hole in which I was going to be holding the sticks later. I preferred it in addition to the glue dot I was going to use, but I am sure you can just glue them if you prefer...
Then, for the base, I used foam. Cut 2 different sized circles and a smaller one thicker on top. I cut the largest circle 5.5" because the cake will be 6".

I covered them up with cardstock and embellished with borders and shapes as desired...
In the top cardstock I made the holes needed for the canopy before I glued it to the foam.
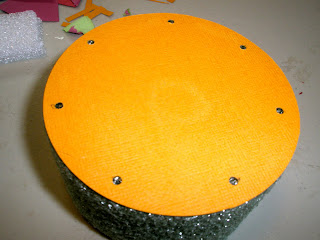
I created separation between each foam with more foam in the center...


Then to position the canopy or roof, I placed colored dowel rods ("tarugos" in Spanish). I bought them in the crafts section in a local convenience store. I first positioned them in the "hole" I created with the strips (also aded a tiny glue dot to the end for more support).
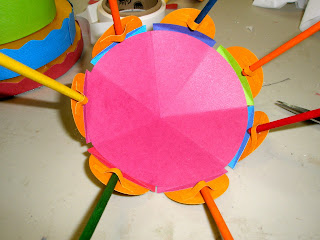
Then I positioned them in the premade holes in the top foam... to see how they will look...
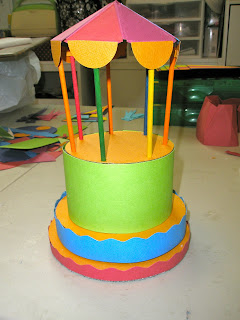
After being convinced they were going to be ok, I then cut a cylinder from paper towel to the right size, and covered with patterned paper/cardstock and placed in the center before putting back the canopy and gluing the "holes" a little bit. I pushed the rods as necessary to make the canopy look aligned (without being higher from one side vs other).
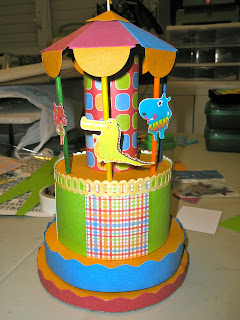
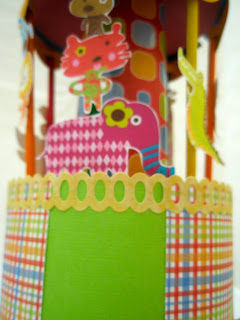
Then I glued some precut animals in the rods for the great final look...
I also used a toothpick and a piece of cardstock to write the name of the baby in a flag and placed in top of the canopy, also adding a little circle as base.

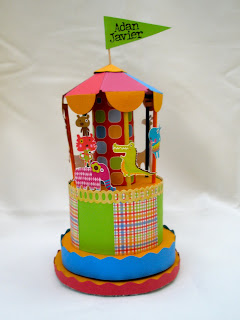
Here are some pictures with the details...
And the... this is how it finally looked placed in the cake... Unfortunately, the baker (a coworker with such a great talent), had to get rid of the base, because the cake didn't come out with exactly 6"... so she only placed the one floor carrousel...
It looked nice though... don't you think? And the cake was beautiful. She embellished with circles and stripes and also used a little bit of the same cardstock I used in the cake topper, to make all look in unity.
Thanks for your comments... I'm so excited to read them all... :)


